Your laptop’s cooling fan works overtime to prevent thermal damage, but dust buildup can reduce its efficiency by up to 40% according to recent 2024 hardware maintenance studies. When did you last give your laptop’s cooling system the attention it deserves? Regular fan cleaning extends hardware lifespan, reduces noise levels, and maintains optimal gaming performance. Access the full article here for comprehensive maintenance guidance.
Understanding Why Fan Maintenance Matters for Gaming Performance
When dust accumulates in your laptop’s cooling system, it creates a silent performance killer that affects every aspect of your gaming experience. The seemingly harmless particles act as thermal insulators, preventing your CPU and GPU from dissipating heat efficiently.
In parallel : The iranian resistance: a path to regime change
As temperatures rise beyond optimal levels, your laptop automatically triggers thermal throttling to protect its components. This safety mechanism reduces your processor’s clock speed, directly translating to lower frame rates and stuttering gameplay. What once delivered smooth 60 FPS gaming sessions suddenly struggles to maintain 30 FPS during intense gaming moments.
The consequences extend far beyond immediate performance issues. Sustained high temperatures accelerate component degradation, shortening your laptop’s lifespan significantly. Your graphics card, processor, and other critical components face increased stress, leading to potential hardware failures and expensive repairs.
In parallel : Top rem nippon figures you need to add to your collection now!
Modern gaming demands consistent performance, whether you’re competing in esports or exploring vast open worlds. A clean, well-maintained cooling system ensures your laptop delivers the reliable performance you need, maintaining optimal temperatures even during extended gaming sessions.
Essential Tools and Safety Preparations
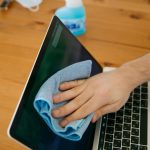
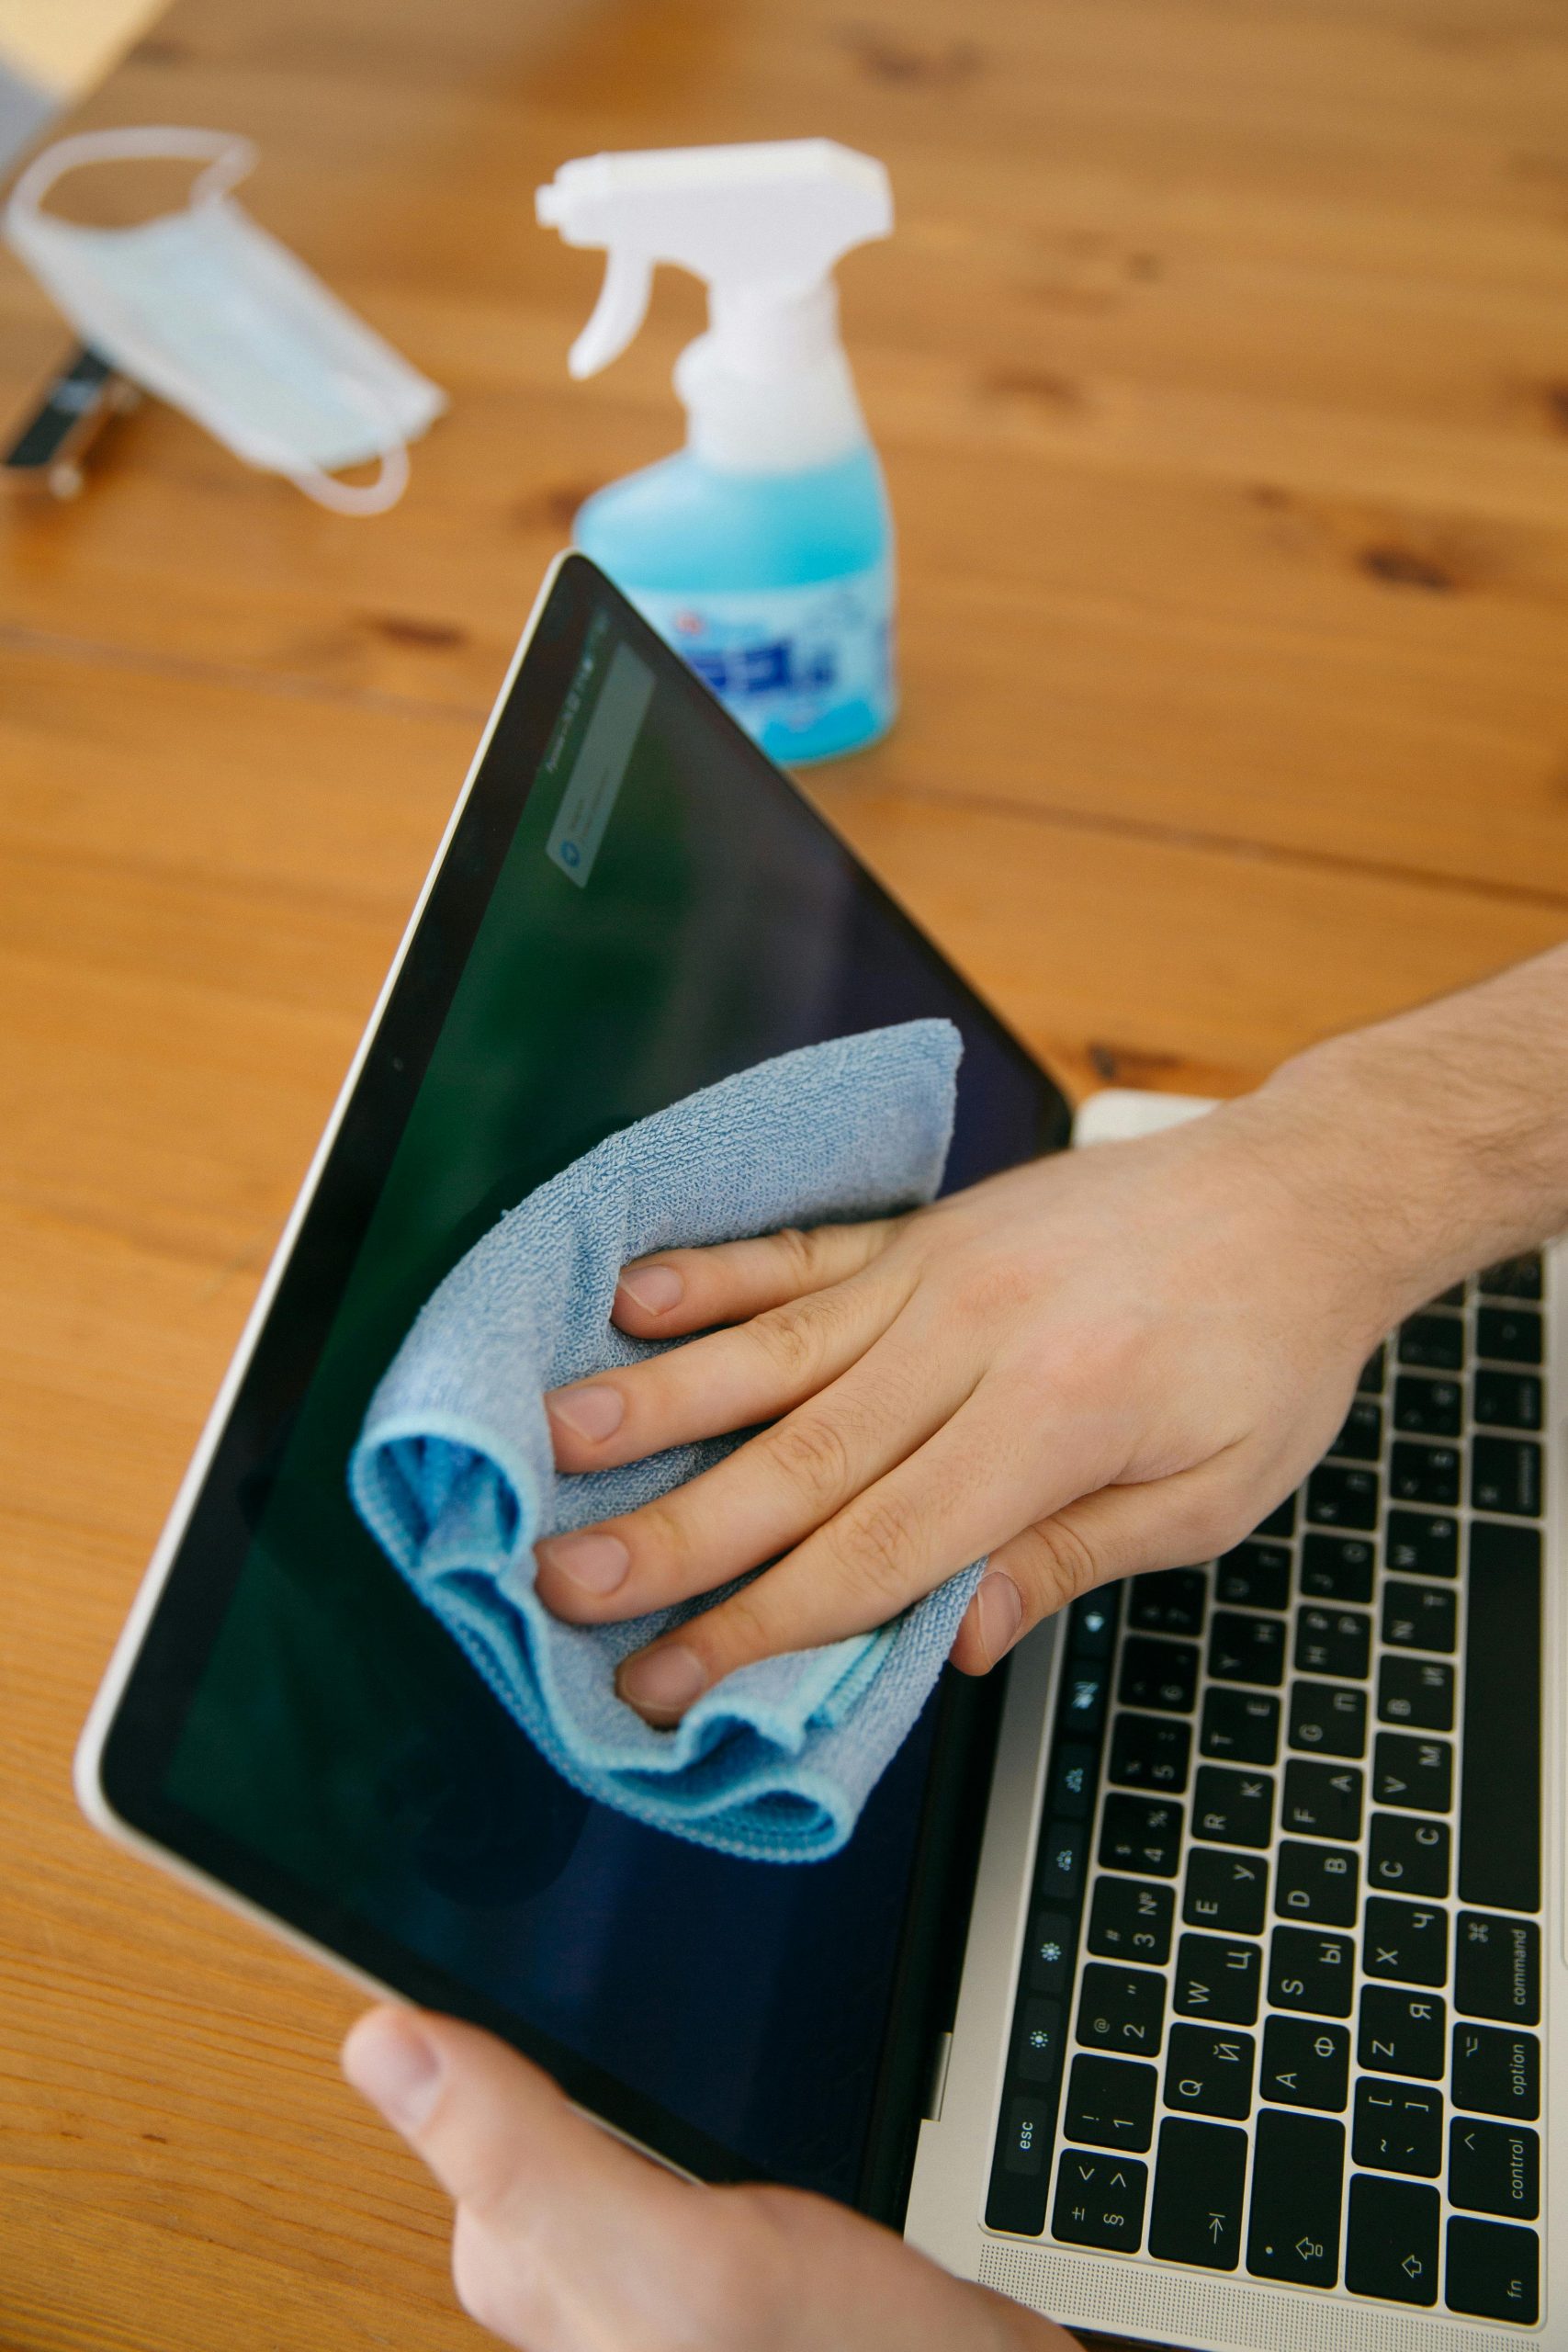
Before diving into your laptop fan cleaning project, gathering the right tools makes all the difference between a successful maintenance session and potential hardware damage. A precision screwdriver set with Phillips head attachments will handle most laptop screws, while compressed air cans provide the primary cleaning power you’ll need.
Safety preparation begins with completely shutting down your laptop and unplugging all power sources. Allow at least 30 minutes for internal components to cool down, as fan motors and surrounding circuits can retain significant heat. Working on a clean, static-free surface protects sensitive electronics from accidental damage during the process.
Anti-static wrist straps offer additional protection for your laptop’s delicate components, though careful handling on a grounded surface often suffices for basic cleaning. Keep your workspace well-lit and organize removed screws in a small container to prevent loss. Cotton swabs and isopropyl alcohol help tackle stubborn dust buildup on fan blades and surrounding areas.
Document screw locations with your smartphone camera before removal, creating a reference guide for reassembly. This simple step prevents confusion when putting everything back together and ensures your laptop returns to perfect working condition.
Step-by-Step Cleaning Process
Cleaning your laptop fan requires a methodical approach to ensure optimal results without damaging delicate components. Follow this comprehensive process to restore your cooling system’s efficiency.
- Power down and disconnect: Shut down your laptop completely, unplug the charger, and remove the battery if possible. Allow 30 minutes for internal components to cool down.
- Gather cleaning tools: Prepare compressed air, soft brushes, isopropyl alcohol (70% or higher), cotton swabs, and anti-static wrist strap for component protection.
- Access the fan housing: Remove the back panel screws carefully, noting their positions. Some laptops require specific disassembly sequences – consult your manual first.
- Initial dust removal: Use short compressed air bursts to dislodge loose debris. Hold the fan blades steady to prevent overspeeding during cleaning.
- Deep cleaning technique: Apply isopropyl alcohol to cotton swabs for stubborn residue removal. Clean fan blades individually, moving from center outward.
- Heat sink maintenance: Clear blocked air channels and clean thermal paste buildup. Replace thermal paste if it appears dried or cracked.
- Final inspection: Check for loose connections, verify fan blade movement, and ensure no debris remains before reassembly.
Advanced Techniques for Deep Cleaning
Professional-grade laptop fan cleaning requires precision tools and methodical techniques that go beyond basic maintenance. Thermal compound replacement represents the pinnacle of deep cleaning, where you completely disassemble the cooling system to access heat sink surfaces that accumulate years of microscopic debris.
Accessing hard-to-reach areas demands specialized equipment like flexible vacuum attachments and anti-static brushes with varying bristle densities. The key lies in working systematically from the outer fan housing toward the heat sink fins, using controlled bursts of compressed air at specific angles to dislodge embedded particles without forcing them deeper into the mechanism.
Professional technicians employ ultrasonic cleaning baths for removable fan components, a technique that removes molecular-level contamination impossible to reach manually. This method requires complete disassembly and careful component identification to avoid damaging sensitive electronics. The process involves submerging only metal components in specialized cleaning solutions while protecting bearings and electrical connections.
Expert-level maintenance includes recalibrating fan curves after deep cleaning, as reduced resistance from pristine components can alter thermal management algorithms. This optimization ensures your laptop maintains peak performance while operating at whisper-quiet levels.
Optimizing Thermal Performance After Cleaning
After thoroughly cleaning your laptop fan, verifying the effectiveness of your work becomes crucial for ensuring optimal gaming performance. The temperature monitoring phase should begin immediately after reassembling your device, allowing you to measure the tangible improvements in thermal management.
Start by installing reliable temperature monitoring software like HWiNFO64 or Core Temp to establish baseline readings. Run demanding applications or games that previously caused overheating issues, comparing current temperatures with your pre-cleaning measurements. A properly cleaned fan should demonstrate temperature reductions of 10-15°C under heavy loads.
Beyond temperature verification, examine your laptop’s fan curve settings through BIOS or manufacturer software. Many gaming laptops allow custom fan profiles that can be optimized post-cleaning. With improved airflow efficiency, you might reduce aggressive fan curves while maintaining safe operating temperatures, resulting in quieter operation during gaming sessions.
Consider updating your thermal management through software adjustments like undervolting your CPU or GPU. Clean cooling systems respond better to these optimizations, allowing for enhanced performance without compromising stability. Regular monitoring over the following weeks ensures your cleaning efforts deliver sustained improvements in both temperature control and gaming performance.
Maintenance Schedule and Prevention Tips
The frequency with which you clean your fan depends directly on your usage. For standard office use, three to four months is generally sufficient. However, heavy gamers and professional video editors should plan to clean it every six weeks to maintain optimal performance.
Carefully monitor for early warning signs. A fan that frequently activates without significant load, high temperatures during simple tasks, or unusual noise indicate that preventative cleaning is necessary.
Adopt a few simple habits to limit dust accumulation. Avoid using your laptop on fabric surfaces such as beds or sofas. Invest in a ventilated stand that improves airflow and reduces the intake of dust particles.
For demanding gaming setups, consider adding an external cooler to relieve the internal system. This preventative solution significantly extends the intervals between cleanings while protecting your machine’s sensitive components.
Frequently Asked Questions
How often should I clean my laptop fan to prevent overheating?
Clean your fan every 3 to 6 months depending on usage. Heavy gamers should aim for quarterly cleaning, while office use allows for cleaning every 6 months.
What tools do I need to safely clean my laptop fan without damaging it?
You will need compressed air, suitable screwdrivers, an anti-static wrist strap, isopropyl alcohol wipes, and a fine brush. These tools will ensure effective cleaning without risking damage to the components.
Can I clean my laptop fan without opening the case completely?
Yes, use compressed air through the ventilation grilles. This simple external method will dislodge 70% of the dust without disassembly, but it’s still less effective than a thorough cleaning.
Why is my laptop fan so loud and will cleaning it help reduce the noise?
The noise comes from dust buildup forcing the fan to spin faster. A thorough cleaning will significantly reduce the noise and improve your machine’s thermal performance.
Is it safe to use compressed air to clean my laptop fan or could it cause damage?
Compressed air is safe when used correctly: short bursts, a minimum distance of 10cm, and holding the blades steady to prevent over-rotation. Avoid tilting the can.